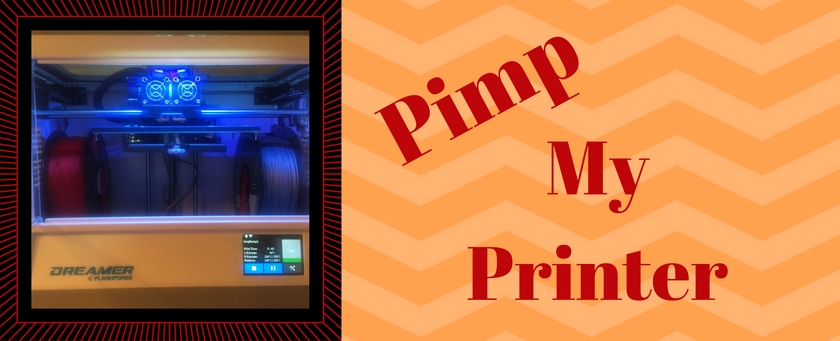
Pimp my 3D Printer - FlashForge Dreamer
Help! My house has a 3D Printer! What do you do when you receive a brand new printer for a gift? In my case, I pimp it up! Dive with me into the world of Thingiverse, Tinkercad and other wonderful adventures.

At home 3D Printing has a lot to offer but it can be hard to go through and find the right things to print. This will show you some of the shit that I print.
What do you do when you receive a brand new printer for a gift? In my case, I pimp it up! I went out on a quest to find out how I can modify something straight out of the box and make it better - because that is what mom's do - make it better. First off I was worried about the heat that was generated (and perhaps a little bit about the fumes) so the first thing that went into the printer are spacers.
Spacers provide enough opening between the top of the printer and the lid to generate an opening for an airflow. I found spacers at Thingiverse by BaronWilliams called FlashForge Dreamer Lid Spacer. These fit snugly with my printer and now I felt comfortable placing the lid on while printing.
Next on the printer-train came the handle. Flashforge Dreamer door handle with its nice curves and promise of a friction fit.
After the handle was printed I realized I would eventually run out of filament so I went to my favorite shopping place, Amazon and found filaments that came highly recommended, Hatchbox. Two days later a spool of filament came in the mail. That is when I came to the shocking realization that the filament would not fit into the printer without modification. I wanted to keep the filament inside the box because I have very destructive environment, namely children. This is where my quest took me on an unexpected twist and turn in Thingiverse land where I tried and failed on many occasion.
First the successes, I found that with the version of FlashForge Dreamer I have, the best stand would be the Omnistand created by BaronWilliams called OmniStand Adjustable Filament Spool Stand. But I also realized very quickly why the right hand side and left hand side in the FlashForge Dreamer are considered so different. The right hand side has a lot less room to work with so the Hatchbox spool could not stay in the center of the stand and had to be slightly angled. Which leads me to the second success.
I was not the first one to encountered the issue with the spool so again, into the Thingiverse land I went. Through comments I found that ruthschoenb had the same issue and had created a handy little spool that had a stand. The stand was a tad to short so I tinkered and got it a bit larger.
Next step was spool insert. Apparently Hatchbox filament holes had become larger and the spool I created was too small. There was a concern of the filament turning towards the buildplate so another quick printout helped with that issue. I ended up printing the cylander at
Now to the failures. I tried to print Dreamer Modifications for Hatchbox Spool but realized A) My dreamer didn't come with extra screws and B) I was not sure this would hold up with 1 KG spools. I however like the design and would experiment more if I had the time to make it work.
I liked the twist handle on Protoparadigm Filament spool mod for Flashforge Dreamer and specially when used with Spool Spacer for Flashforge Printers. These spool spacers provide a hole large enough for the twisted handle to fit in and makes it look oh, so pretty in the printer.
I like the idea of spool spacers but Filament Spool Insert (2.25") were kind of loose and didn't like to stay in place.